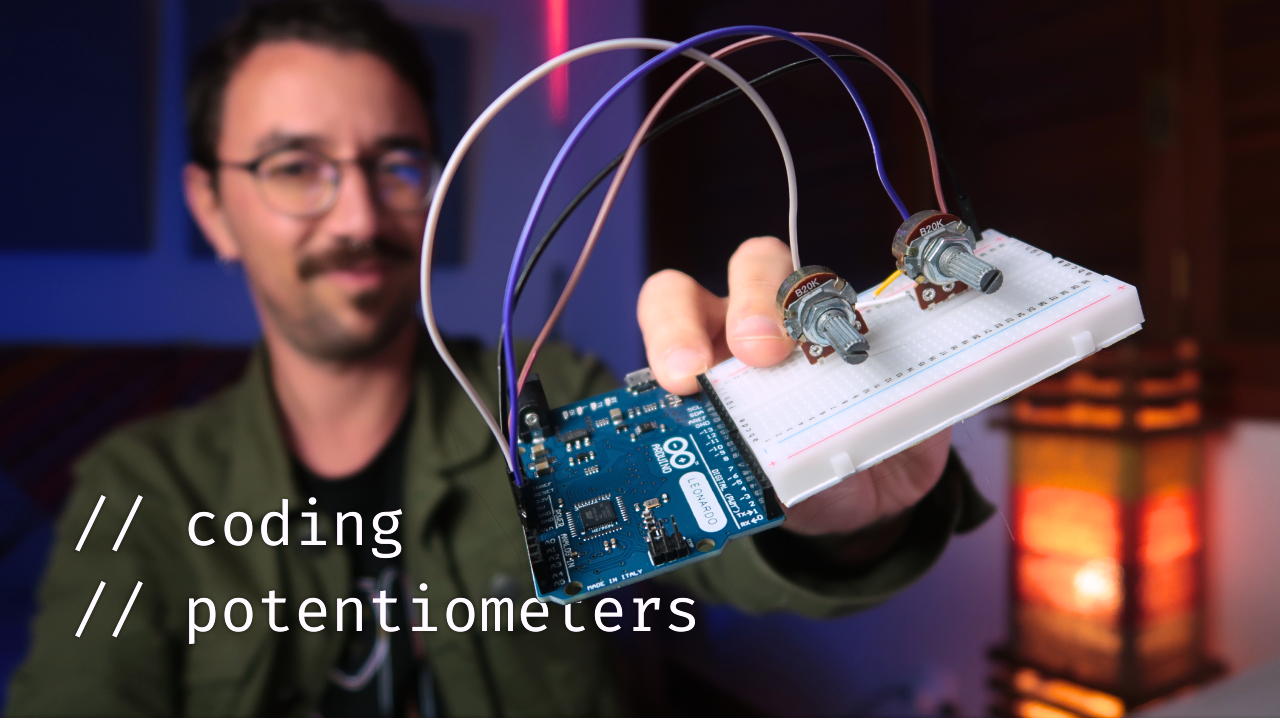
4# How to Code Potentiometers (Complete Guide) - MIDI Programming for the Arduino
Introduction
Hello makers! In this video, I'm excited to guide you through the process of using potentiometers with your Arduino to send MIDI messages, specifically MIDI control change. Whether you're a seasoned Arduino enthusiast or just starting out, this tutorial will equip you with the skills to code your own MIDI controller from scratch.
Introduction to MIDI Programming for Arduino
Welcome to the Nerd Musician! I'm Gustavo Silveira, and this series focuses on MIDI programming for Arduino. In previous episodes, we covered essential concepts like Arduino IDE, variables, arrays, for loops, digital read, digital write, and utilizing the MIDIUSB Library. If you missed those classes, I recommend watching them first as we'll be building upon those concepts. Additionally, if you're new to building MIDI controllers, check out my DIY MIDI Controller Workshop for a solid foundation in Arduino basics.
Materials Needed
For today's project, gather the following materials:
Arduino Leonardo (or any Arduino compatible with USB MIDI)
Linear 10K ohms potentiometer (commonly referred to as b10k)
Breadboard and jumper wires
Setting Up the Circuit in Tinkercad
Before assembling the circuit physically, let's simulate it in Tinkercad. We'll connect the potentiometer to the Arduino's analog pin A0, ensuring a ground connection for one terminal and 5 volts for another. The middle pin (wiper) connects to the analog input.
Understanding Potentiometers and Wiring
Potentiometers are variable resistors with adjustable values. Wiring a potentiometer involves connecting its three terminals: ground, 5 volts, and the analog input pin.
Reading Analog Pins and Adjusting Range
Using the analogRead() function, we obtain values from the analog pin. To adjust the range of these values suitable for MIDI, we utilize the map() function.
Emulating Analog Output with PWM
By employing analogWrite() and Pulse Width Modulation (PWM), we can simulate analog output on digital pins. This technique enables control over LED brightness or motor speed.
Enhancing Analog Readings with ResponsiveAnalogRead Library
To counteract signal jitteriness caused by electrical noise, we integrate the ResponsiveAnalogRead library. This library offers a simple yet effective solution for smoothing analog readings.
Implementing MIDI Messaging
Utilizing the MIDIUSB library, we send MIDI control change messages. By defining MIDI channels and control parameters, our Arduino communicates with MIDI-compatible software like Ableton Live.
Conclusion and Next Steps
Congratulations on mastering potentiometer integration into your Arduino MIDI controller! By modifying the code and adding more potentiometers, you can expand the functionality of your DIY MIDI setup. If you're interested in diving deeper into MIDI controller construction and Arduino programming, consider exploring my Nerd Musician Pro courses. With comprehensive guidance and community support, you'll unlock endless possibilities for musical innovation.
Final Thoughts
Coding may seem daunting, but it's a rewarding creative endeavor, especially when combined with music production. Remember, practice makes perfect, and with dedication, you'll soon be crafting custom MIDI controllers tailored to your musical needs.
Thank you for joining me in this journey of Arduino MIDI programming. Don't forget to like, subscribe, and leave your questions and suggestions in the comments below. Until next time, happy making!
Tchau.
Links
🎛️ Download the Arduino Sketch: https://go.musiconerd.com/files-download
🎹 Nerd Musician Pro: https://go.musiconerd.com/nerd-musician-pro
🎛️ DIY MIDI Controller Workshop: https://go.musiconerd.com/diy-midi-controller-workshop
🎹 Curso Fazendo Música com Arduino em Português: https://go.musiconerd.com/fazendo-musica-com-arduino
🎛️ Join the Tinkercad Class: https://www.tinkercad.com/joinclass/5L69NZQG2
