DO YOU REALLY NEED AN ANALOG SYNTH? My MINIMOOG "Clone" Workflow
Introduction
As your music production journey advances, the question of integrating analog synthesizers into your setup may arise. The allure of iconic brands like Moog and the latest offerings from Arturia might captivate your imagination, but the hefty price tags leave you contemplating their true value. In this post, we won't debate the merits of analog versus plugins. Instead, I'll share a cost-effective alternative that not only enhances your workflow but also offers a personalized touch—building your own MIDI controller.
Discovering the Power of DIY
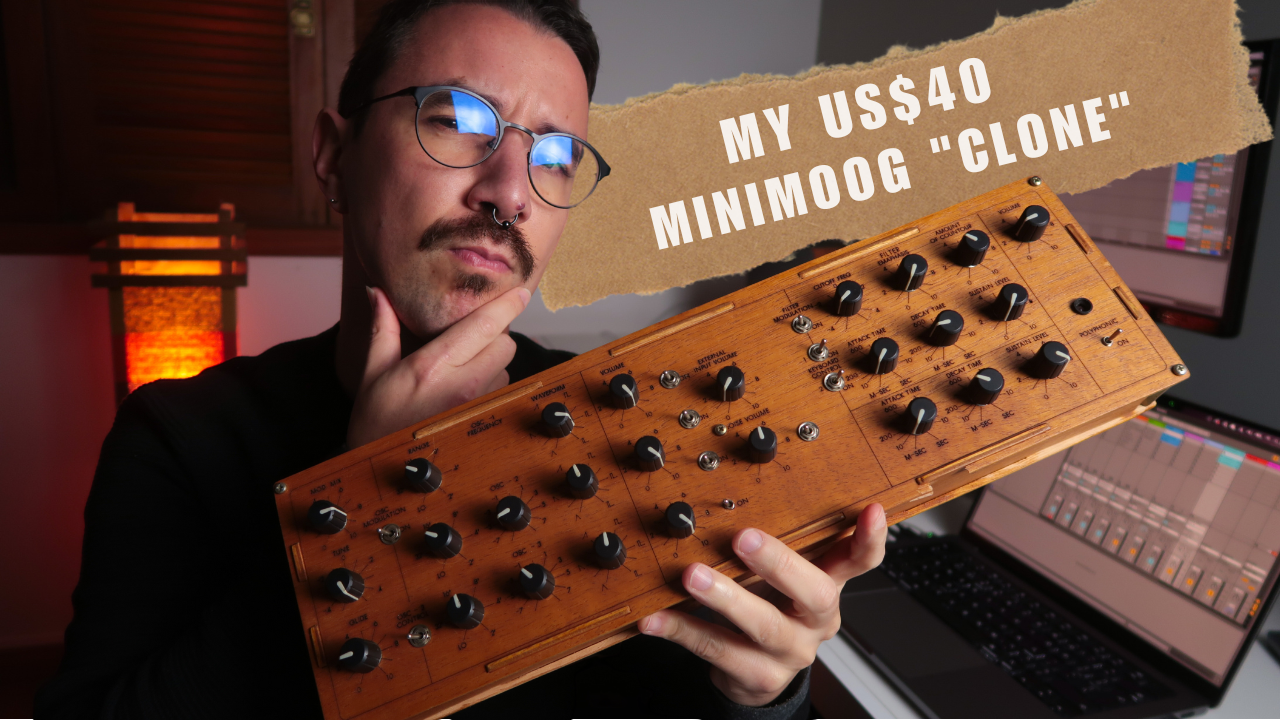
Greetings, makers! I'm Gustavo Silveira, and on this channel, I guide individuals through the art of crafting MIDI controllers. Today, let's explore how DIY controllers can elevate your music production, demonstrating the process using my Mini Moog clone as an example. While it's not a physical analog synth, this MIDI controller replicates the Mini Moog's panel, providing hands-on control over plugins.
Setting Up Your Workflow
Let's delve into the intricacies of setting up your workflow with Ableton Live, demonstrating how DIY MIDI controllers can seamlessly integrate with your favorite plugins. Mapping parameters is key to this process, ensuring that every knob and button on your controller corresponds perfectly with the controls in your chosen synth plugin.
Mapping Overview in Ableton Live
In Ableton Live, creating a template where plugins are pre-mapped to your DIY controller can streamline your workflow significantly. While automatic mapping for every parameter isn't feasible, setting up a template with pre-mapped controls can save you valuable time. Let's explore this process using plugins like Mini V, TAL Noise Maker, and Diva, ensuring that each parameter aligns with your DIY controller's interface.


Creating Instrument Selection Racks
To enhance instrument switching, I create a group using Ableton Live's grouping feature. This allows me to effortlessly switch between instruments. Additionally, I introduce alternative methods like using dummy clips for dynamic instrument selection.
The ability to assign specific keys to each instrument provides further flexibility, allowing for instantaneous transitions during performance.

Expanding Possibilities with Effects
Taking the DIY approach to the next level, I extend the setup to include not just synths but also effects like auto-filter, auto-pan, saturator, and chorus. Grouping them and mapping parameters further amplifies creative control.
By saving this comprehensive setup as a template, I ensure that every time I revisit a project or start a new one, my instruments and effects are ready for action.
Expanding Your Setup
Beyond synthesizers, incorporating additional instruments and effects into your setup can further enhance your music production capabilities. Grouping these elements and mapping their parameters to your DIY controller allows for comprehensive control over every aspect of your sound.
Customization and Optimization
Tailoring your setup to suit your preferences is essential. Mapping macros and assigning shortcuts to your DIY controller knobs can optimize your workflow, ensuring seamless control over a diverse range of parameters.

Saving Your Setup as a Template
Once you've perfected your setup, saving it as a template ensures that your preferred configuration is readily accessible for future projects. With a few clicks, you can load your template and dive straight into the creative process, maximizing your productivity.

Cost-Effective DIY MIDI Controllers
Now, here's the exciting part—the MIDI controller used in this setup cost me around $40 to build. The affordability is attributed to readily available components, with the brain, an Arduino, costing approximately $5 from platforms like AliExpress.
In conclusion, while the allure of analog synths is undeniable, a DIY MIDI controller paired with a meticulously designed template can offer a compelling alternative. The personalized touch, enhanced workflow, and significant cost savings make this approach a worthy consideration. Share your thoughts in the comments—do you truly need an analog synth, or could a DIY controller be your creative catalyst?
If you're intrigued by the prospect of building your own MIDI controller, whether replicating this design or creating a unique one, explore my Nerd Musician Pro course linked in the description. Regardless of your experience in electronics or programming, this course provides step-by-step guidance for unleashing your creative potential. Until next time, happy crafting and music-making!
Links
👉 Nerd Musician Pro: https://go.musiconerd.com/nerd-musician-pro
👉 DIY MIDI Controller Workshop (free course): https://go.musiconerd.com/diy-midi-controller-workshop
👉 Fazendo Música com Arduino: https://go.musiconerd.com/fazendo-musica-com-arduino
